
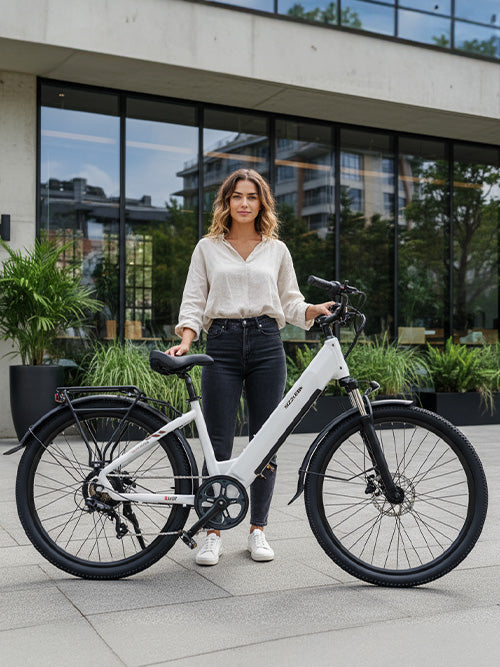


Electric bikes offer a multitude of advantages, including eco friendliness, cost savings on fuel, and the convenience of easy commuting. By choosing to build your own e-bike, you can enjoy these benefits at a fraction of the cost of purchasing a new electric bicycle. Moreover, the ability to customize your bike allows you to tailor it to your specific preferences, whether it's for long-distance commuting, off-road adventures, or leisurely rides around town.
Environmental Benefits
Electric bikes are a greener transportation option compared to traditional vehicles. They produce zero emissions during operation, helping reduce your carbon footprint. By converting a regular bike into an ebike, you're contributing to a cleaner environment while enjoying the efficiency of electric power.
Cost Efficiency
Purchasing a new electric bike can be a significant financial investment. Building your own ebike is an economical alternative, allowing you to repurpose a bike you already own or acquire a second-hand one for a low cost. The savings can be substantial, especially when considering the long-term reduction in fuel and maintenance expenses.
Customization Opportunities
One of the most appealing aspects of a DIY electric bike is the opportunity for customization. You can select components that match your riding style and needs. Whether you prioritize speed, range, or off-road capability, building your own ebike lets you create a personalized ride that aligns perfectly with your lifestyle.
Choosing the Right Bike
The first step in building a DIY electric bike is selecting the right bicycle. While most standard bicycles can be converted into ebikes, some types are more suitable than others. Here are a few considerations to help you choose the best bike for your project:
Frame Compatibility
Ensure your bike's frame is sturdy enough to handle the additional weight of the motor and battery. Steel and aluminum frames are generally preferable due to their durability. It's important to check for any signs of wear or damage on the frame, as the added weight and stress of an electric motor can exacerbate existing issues.
Brake System
A reliable braking system is crucial for safety, especially with increased speed and weight. Disc brakes or upgraded caliper brakes are recommended for electric bikes. Consider upgrading your bike's brakes if necessary, as effective braking is essential for managing the enhanced power and speed of an e-bike.
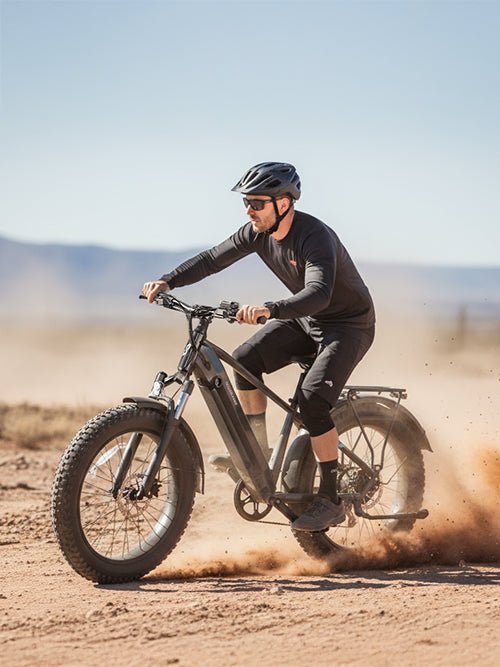
Wheel Size and Type
Electric bike kits are available for various wheel sizes, so make sure your bike's wheel size is compatible with the kit you choose. Additionally, consider the type of terrain you'll be riding on. For off-road adventures, wider tires with good tread can provide better traction and stability.
Bike Geometry
The geometry of the bike frame can affect the installation process and the overall ride quality. Consider the bike's geometry in relation to the motor and battery placement. A frame with ample space for mounting components is ideal, as it allows for easier installation and better weight distribution.
Selecting an Electric Bike Kit
Electric bike kits are available in different types, each with its own set of components and installation requirements. Here's an in-depth look at the common types of kits you'll encounter:
Front Hub Motor Kit
This kit involves installing a motor in the front wheel hub. It's easier to install and provides balanced weight distribution, but may not offer as much power as other options. The front hub motor kit is ideal for city commuting and flat terrains, where power demands are moderate.
Rear Hub Motor Kit
A rear hub motor kit places the motor in the back wheel, providing better traction and power for climbing hills. It's slightly more complex to install than a front hub motor, but the increased power and traction make it suitable for varied terrains and inclines.
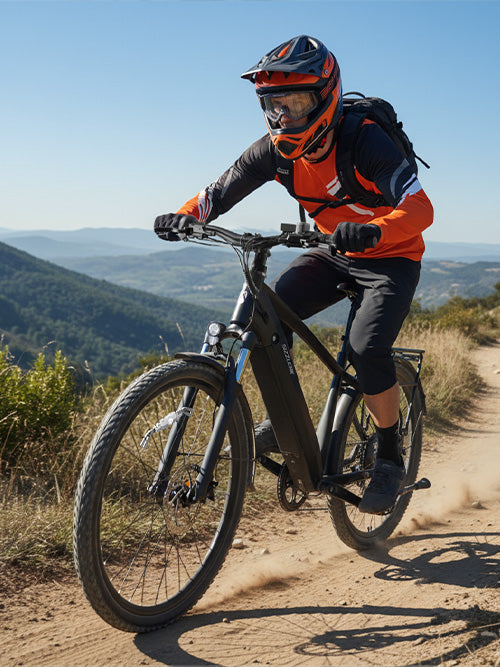
Mid-Drive Motor Kit
The mid-drive motor kit is installed near the bike's bottom bracket, driving the crankshaft directly. This setup offers excellent power and efficiency, making it ideal for steep inclines and rugged terrain. Mid-drive kits provide a more natural riding experience and are often favored by off-road enthusiasts.
Battery Options
Electric bike kits typically come with a variety of battery options, varying in voltage and capacity. Consider your desired range and power requirements when selecting a battery. Higher voltage and capacity batteries offer longer range and better performance but may add weight and cost.
Controller and Throttle Options
The controller and throttle are key components in managing the power flow and controlling the bike's speed. Kits may offer different types of throttles, such as thumb or twist throttles. Evaluate the options available and choose one that provides comfortable and intuitive control for your riding style.
Tools and Materials Needed
Before you begin the conversion process, it's essential to gather the necessary tools and materials. Here's a detailed list of what you'll need:
Basic Bike Repair Tools
Having a set of basic bike repair tools is crucial for the conversion process. This includes wrenches, screwdrivers, and a bike stand for stability during installation. Familiarize yourself with these tools to ensure a smooth and efficient assembly.
Electric Bike Kit Components
Your electric bike kit should include the motor, battery, controller, throttle, and display. Verify that all components are present and in good working condition before beginning the conversion. Check the manufacturer's instructions for any specific tools or materials required for installation.
Safety Gear
Safety gear is essential when working on your bike. Gloves and goggles protect you from sharp edges and electrical components. Ensure you have the appropriate safety equipment and work in a well-ventilated area to avoid accidents.
Additional Materials
Zip ties and electrical tape are handy for securing wires and ensuring a clean installation. Consider having extra materials on hand for any unforeseen needs during the conversion. A torque wrench is also recommended for securing bolts to the correct tension.
Step-by-Step Conversion Process
Converting your bicycle into an electric bike involves several steps. Here's an expanded guide to help you get started:
Step 1: Remove the Existing Components
Begin by removing any components that will be replaced or interfere with the installation of your electric bike kit. This may include the front or rear wheel, pedals, or chain. Take care to label and store removed components, as some may be reused or repurposed later.
Step 2: Install the Motor
If you're using a hub motor kit, remove the existing wheel and replace it with the motorized wheel. For mid-drive kits, follow the manufacturer's instructions for mounting the motor near the bottom bracket. Pay attention to cable routing to prevent tangling or interference with moving parts.
Step 3: Mount the Battery
Securely mount the battery to your bike's frame. Many kits include a mounting bracket for easy installation. Ensure the battery is positioned to maintain a balanced weight distribution and is easily accessible for charging and removal.
Step 4: Connect the Controller
The controller manages the power flow from the battery to the motor. Mount it securely on your bike and connect it to the battery and motor according to the kit instructions. Double-check all connections to ensure they are secure and properly insulated.
Step 5: Install the Throttle and Display
Attach the throttle and display to your handlebars. These components allow you to control the motor's power and monitor your speed and battery life. Position them for easy access and visibility while riding, ensuring that they do not obstruct other controls or grips.
Step 6: Secure Wiring
Use zip ties and electrical tape to secure all wiring along the bike frame. Ensure that wires are not loose or in the way of moving parts. Take the time to organize and protect the wiring to prevent damage and ensure a tidy appearance.
Testing Your DIY Electric Bike
Once your electric bike conversion is complete, it's time to test it out. Begin with a low-speed test ride in a safe area to ensure everything functions correctly. Check the responsiveness of the throttle, the power of the motor, and the effectiveness of the brakes. Pay attention to any unusual noises or vibrations, as these can indicate issues that need addressing.
Initial Test Ride
Start with a short ride on a flat surface to get a feel for the bike's handling and responsiveness. Gradually increase speed and test the brakes to ensure they can handle the increased power. Make adjustments to the throttle and controller settings as needed for a comfortable and safe ride.
Assessing Performance
Evaluate the bike's performance, including acceleration, top speed, and range. Compare these to your initial expectations and make note of any areas that require improvement. Adjust settings or components to optimize performance and ensure the bike meets your needs.
Troubleshooting Common Issues
If you encounter any issues during testing, refer to the kit's troubleshooting guide or seek advice from online forums or communities. Common issues may include loose connections, improper calibration, or component misalignment. Address these promptly to ensure safe and reliable operation.
Maintenance Tips for Your Electric Bike
Regular maintenance is crucial to keep your DIY electric bike in top condition. Here are a few tips to ensure your e-bike remains reliable and efficient:
Routine Inspections
Regularly check and tighten all bolts and connections to prevent loosening due to vibrations or stress. Inspect the bike for signs of wear or damage and address any issues promptly to avoid costly repairs.
Battery Care
Keep the battery charged and follow the manufacturer's guidelines for battery care. Avoid extreme temperatures and overcharging, as these can reduce battery life. Store the battery in a cool, dry place when not in use for extended periods.
Lubrication and Cleaning
Clean and lubricate the chain and other moving parts to reduce wear and maintain smooth operation. Regular cleaning also helps prevent the buildup of dirt and debris that can cause damage or reduce efficiency.
Brake and Tire Maintenance
Inspect brake pads and replace them as needed to ensure effective stopping power. Check tire pressure regularly and inspect for signs of wear or damage. Proper tire maintenance improves safety and extends the life of your tires.
Conclusion
Building your own DIY electric bike is a fulfilling project that offers both environmental and economic benefits. By selecting the right bike, electric bike kit, and following the conversion steps carefully, you can create a personalized ebike that meets your needs and preferences. Whether you're commuting to work or exploring new trails, your DIY electric bike will provide a fun and efficient mode of transportation. Embrace the journey of building and riding your custom e-bike, and enjoy the unique satisfaction that comes from crafting a vehicle tailored to your lifestyle. Happy riding!